Hey there, beauties!
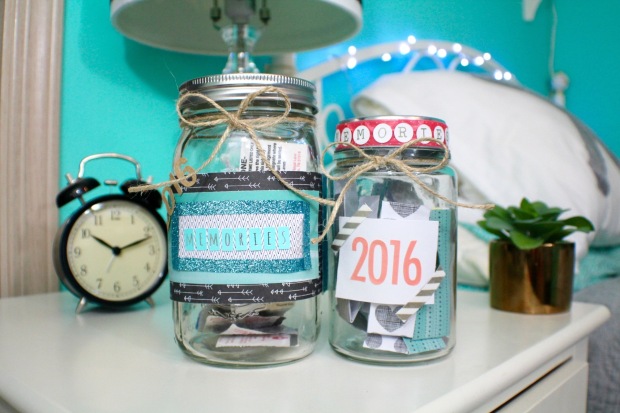
Happy New Year’s Eve! Can you believe we’re only a few hours away from 2016?! I cannot wait to see all of the amazing things that this year will bring! The DIY I’ll be showing you today is the perfect way to save those memories in a jar so you will never forget them! In my opinion, it is a little like a scrapbook except way quicker and simpler to make. On top of being insanely easy to make, this craft is the perfect gift for anyone you know who cherishes their memories, too!
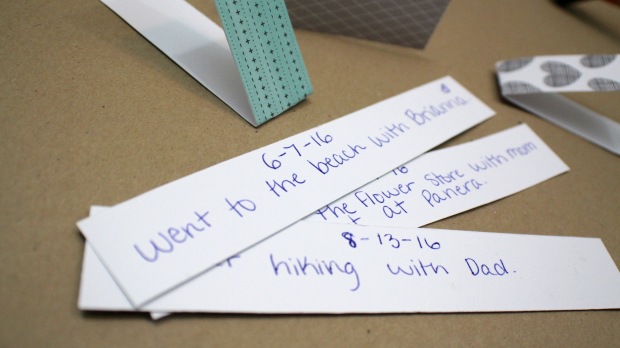
These jars are meant to be stuffed with any kinds of ticket stubs or even little papers you have written on with the date and the adventures you had that day. I have kept a memory jars for two years now and you’d be surprised how quickly they fill up! I love looking back on all of the fun times! I hope you all enjoy this craft as much as I do… Let’s begin!
What you’ll need:
- A jar (The bigger the better -that way, you won’t run out of space!)
- Paper or labels
- A hot glue gun
- Scissors
- Stickers
- Letters
- Ribbon, string or twine
- Washi tape (optional, but super cute!)
- Memories, of course! 😉
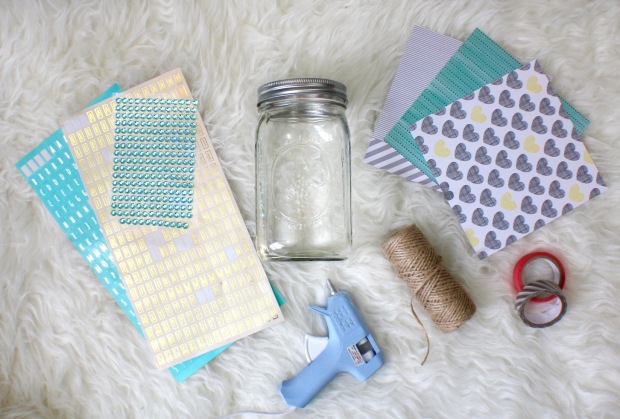
With this DIY, how you decorate the jar is completely up to you, so there aren’t any specific steps to take. If you wanted, you could even leave the jar plain, but I’ll show you how I decided to decorate mine!
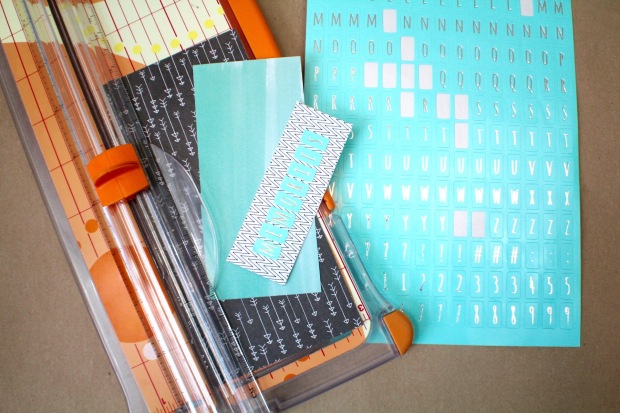
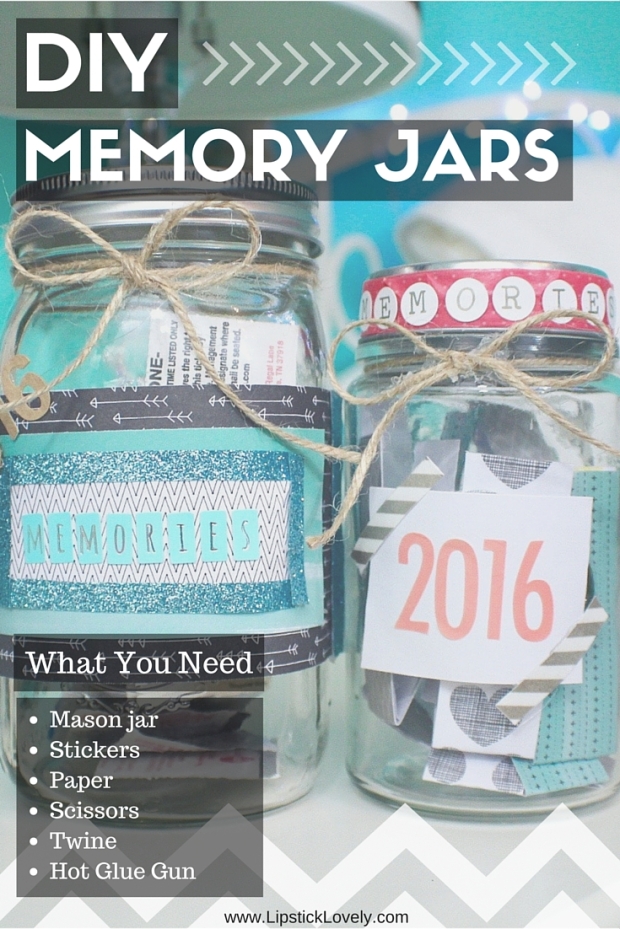
I started by cutting some cute paper so that my jar had a label on the front. I then stuck some of my letter stickers onto that paper and hot glued the pieces together.
I then hot glued those pieces onto my jar, gluing in sections so that it didn’t dry before I could stick the paper down.
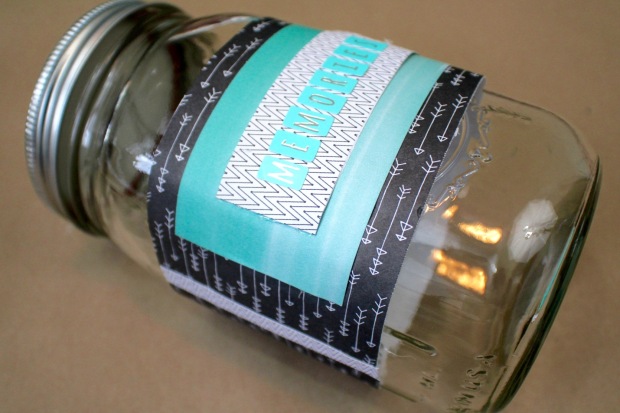
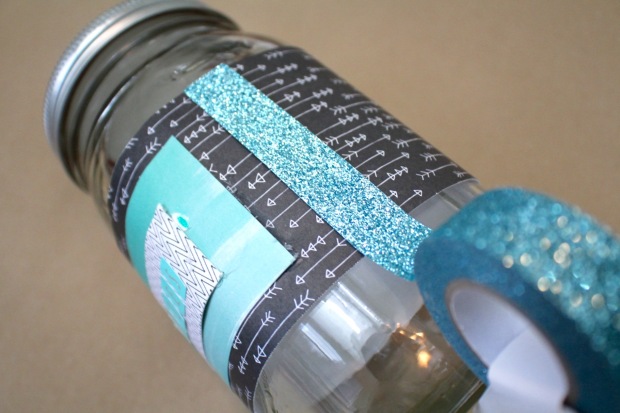
After that, I realized my paper was a bit short, so I decorated the sides with some sparkly washi tape that I’m obsessed with. You can find adorable washi tape everywhere -keep your eyes peeled for it on the Target dollar aisle, because they always have really cute, cheap ones! In fact, I found a lot of my decorations there, including my letter stickers!
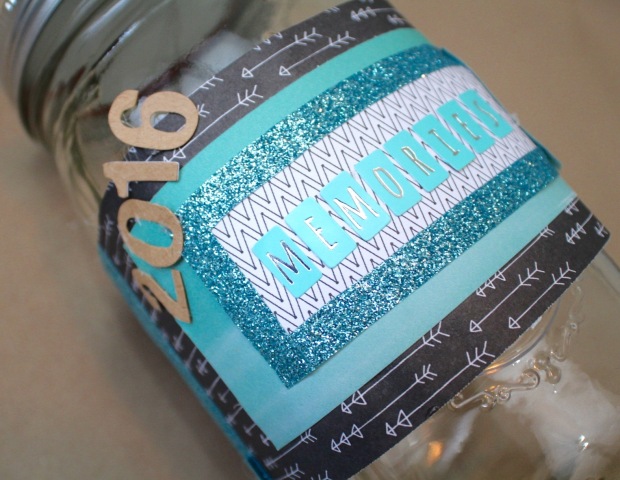
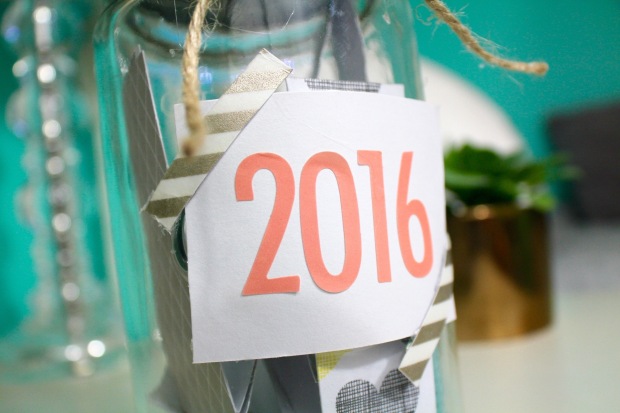
I then decided my jar needed the year on it, so I hot glued the 2016 onto the front.
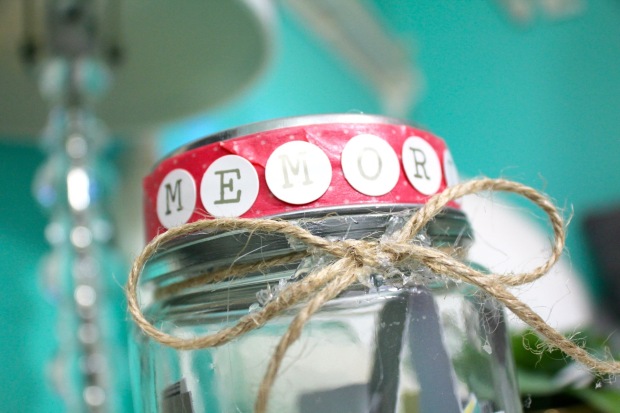
Of course, I had to also add a bow! I just tied some twine around the neck of the jar and hot glued it in place so it won’t be twisted at weird angles.
As for my next jar, the steps are pretty similar, I just hot glued all of the pieces on and used some different colors of washi tap over the label and also the lid. I decided to switch things up a bit and add the stickers onto the lid of the jar. I recommend hot gouging them down if you decide to do this so that they won’t come off when you open it to put your memories in.
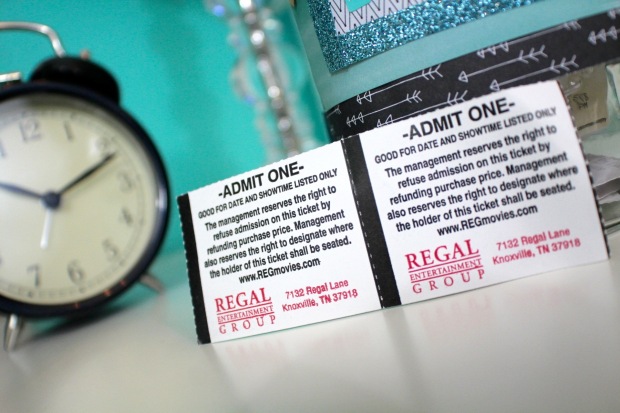
To show the different ways you can fill these jars, I put some folded pieces of scrapbook paper in one jar and filled the other with all kinds of tickets that I’ve collected. If you’re an over achiever, you can use both papers and tickets in your jar!
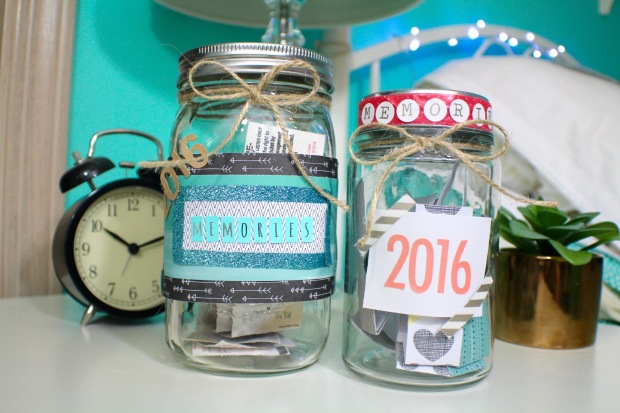
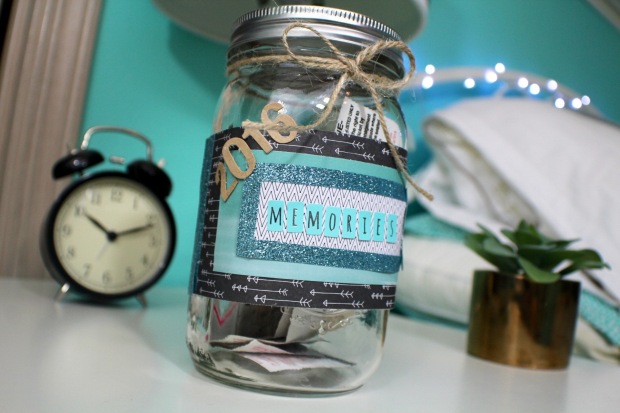
And that, ladies and gents, is the finished project. I hope that you enjoyed and maybe try this project out yourself! I think this is a great idea and super fun to look back on later in life! I can’t wait for all the memories i’ll fill my jar up with this year!
Thanks so much for reading! Talk to you next year!
XO,
Hanna

Super cute, I’ll have to try these 🙂
Rae // http://www.raechic.com
LikeLiked by 1 person
Thank you so much! 🙂
LikeLike
What a fun idea!!
LikeLiked by 1 person
Thank you, Yazzi! Happy New Year! ❤
LikeLiked by 1 person
Happy New Year!
LikeLiked by 1 person
This is such a great idea! Especially for the new year and for people like me who are always forgetting things haha
Rita x
http://dashofcurves.blogspot.com
LikeLiked by 1 person
Thank you, Rita! xo
LikeLike
This is such a creative idea! I will have to try this! ❤ xoxo
LikeLiked by 1 person
Thank you!! xoxo
LikeLiked by 1 person
Memory jars sound like such a great idea! Love it 🙂
xo, Lynna / howlynnaful
LikeLiked by 1 person
Thank you, Lynna! xo
LikeLiked by 1 person